Taking on a restoration can get chaotic fast. It consists of many smaller projects drawn out into one long process to follow. Therefore, it's no surprise things can become unorganized.
Taking pictures and documenting the restoration project will help if you ever decide to sell the vehicle. For someone who wants to either purchase or resell the car, the proper paperwork is essential to show the price and the work that has been put into it. Well-kept paperwork will trace the car's history and show its real value. The proper documentation addresses these would-be-buyer concerns, inspiring confidence in the car and adding monetary value.
As the classic car community continues to grow, most collectors will share their information online, whether it's just for you or for sharing with people in the same process. Taking a few extra steps in the stages for restoration and some discipline to document and photograph the project will help show your work.
Our very own Orlando Anderson breaks down his tips and tricks of how he stays organized during a car restoration project. You can pick up the majority of the items he lists at the local convenience or dollar store. Here are some helpful tips that will assist with your car projecy.
Keep the Value of Your AC
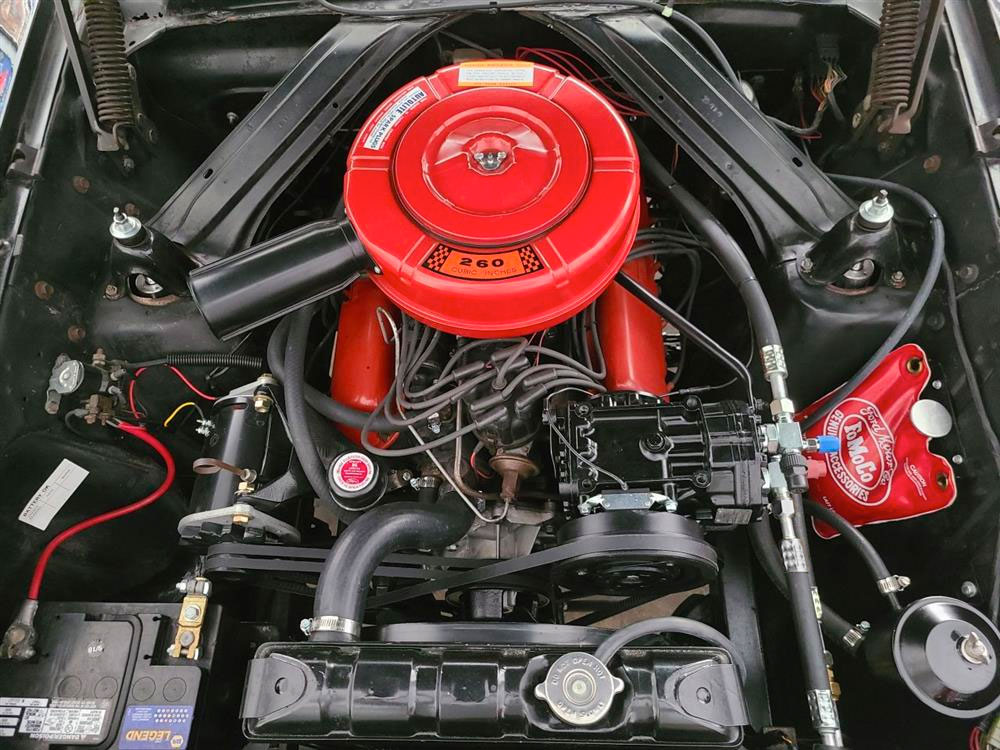
Before you even begin planning for a restoration, learn the value of your starting point. We've seen too many car projects where DIYers ended up dumping an original AC for more horsepower.
The line between determining a modification from a restoration is often blurred. However, know if you lean toward the modification and enhancement route particularly by swapping out the AC, the car will drop in value.
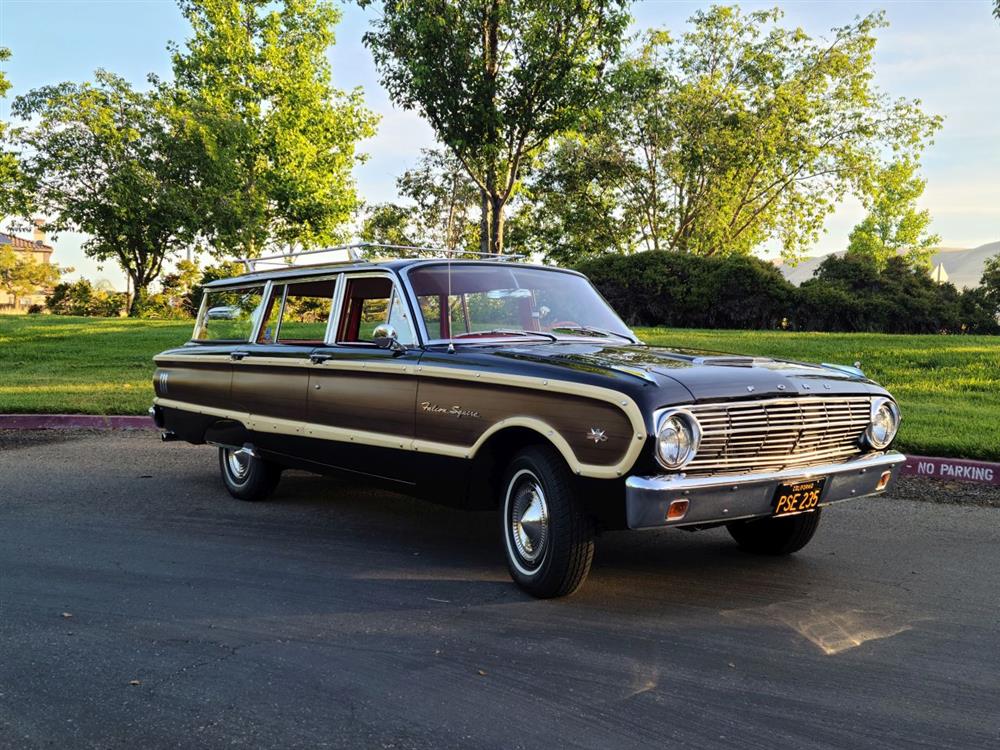
A classic car can be a muscle car, but not a racecar. As soon as these vehicles adopted the term "classic," their racing days were over.
If by some chance you already gutted your system or plan to turn your classic into a performance car instead, Original Air will buy your parts! Make some extra cash and fill out this form.
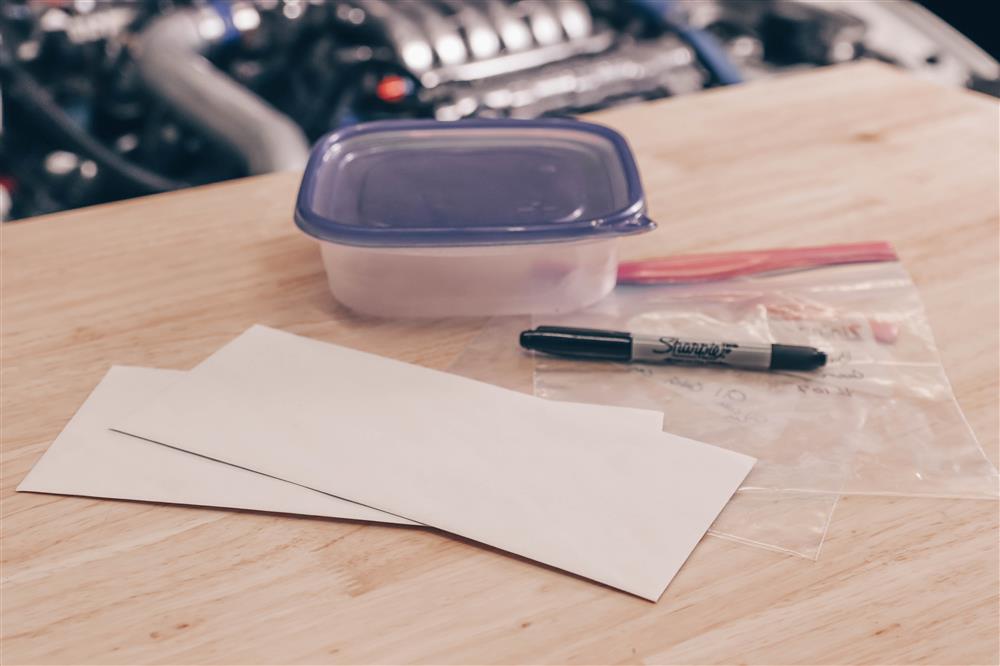
Purchase Supplies
What you'll need:
- Sharpies (fine and thick tip)
- Notebook
- Envelopes
- Stackable storage bins
- Tags
Use a Camera
This is a great way to document small details of the restoration process.
Taking pictures while working on the car can provide a before and after. It can show the work that has been done to the car and the work you have put into it.
I also recommend getting a notebook to create a sort of log that you can put images and diagrams into. A notebook will track all the adjustments and changes you made to the car and you can then create a full story of the car restoration project. My biggest tip is making sure your handwriting is legible to go back and track your steps and share with others.
If you don’t have a digital camera, most smartphones have a great camera on them and can take a clean photo. Most are pretty easy to use and it takes minimal expertise to figure them out.
One trick that helps me is to be sure that I take several pictures of a particular area. For example, a far shot to see the entirety, and some close-up shots on the spot. Be sure you get enough pictures of the area, so you do not lose the context of your photos when going back.
Depending on the lighting in your workplace, I would make sure when taking pictures that you do not wash out small details by using the flash on the camera. Purchasing an LED work light if you don’t own one will help for pictures. Upload all the pictures into a devoted folder on your computer to keep the photos safe until you need to look at them again.
Use Video
Using video can help get a full look into the restoration process from bumper to bumper. Video is another way to show a before and after of the car and the work you did on it. Additionally, you can also use the video to share your work with car restorers.
When doing a full recording of the car, you can identify more information as you work on the vehicle. When looking at the playback, you may see a detail you missed or were not focusing on at that moment.
The Envelopes
I use many different-sized envelopes to keep the project organized. When taking apart the car, I will put the car parts into envelopes and label them. If you do not have any envelopes, re-sealable zipper storage bags will also do the trick.
I use the sharpies to label each envelope or bag with the name of the parts inside. Be sure to be as clear and descriptive as possible on the envelope. I will place all my full envelopes in the stackable storage bins to keep everything in the right place and ensure nothing gets left behind. This also makes retrieving parts easy.

Tags
I use tags for the parts that are too large to fit in the envelopes, but I still want to label them and keep everything organized. I will use a fine tip sharpie to label the tags because they are smaller and have less space to write on.
Another trick I learned - I will sometimes label a number to the tag and match it in the notebook, so it keeps it organized. Also, I will write on both sides of the tags. Once everything is labeled, I will place it in a storage bin until needed again.
Uploading Time
This is an extra step that I like to take; I will use my personal computer to store all the pictures and videos during the restoration project. I can go back and look at the photos and videos while working to zoom in on an area of interest.
If I have the time and want to take an extra step, I will use Microsoft PowerPoint to create documentation to put pictures into a slide and add notes from my notebook. It’s a way to make my notes and photographs cohesive. Once the restoration project is complete, I will also have a completed PowerPoint to show to others.
Be sure to rename photos when you import them into a computer. Therefore, they are easy to find. Instead of having a list of files that look similar to img1745.jpg, you can have an “emergency-brake-rod.jpg” to keep everything more organized. Make sure you back up the photos and data on a hard drive.
In conclusion, keeping everything organized, labeling your parts, and storing everything correctly will help with a restoration project. Take pictures and videos to refer to later and share with other collectors. Taking notes and writing down every detail of your restoration will help with fewer mistakes.