1-877-544-9023
9:30am - 5:30pm EST
Search
Filters
RSS

Blog posts of '2019' 'June'

Classic Car Tips For the Summer Season

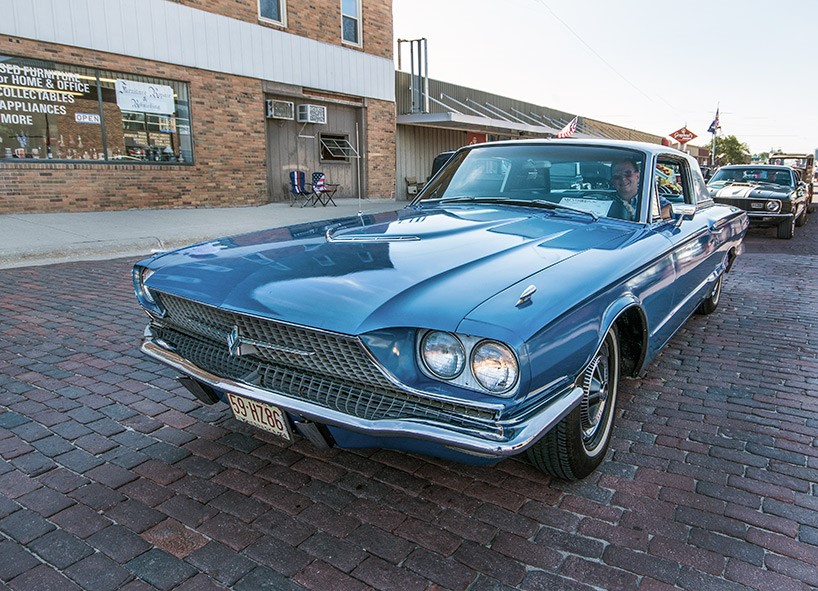
If you’ve shielded your beauty from the sleet, snow, wind, rain and whatever else the winter and spring seasons have to offer, congratulations. It’s June, which means summer is finally here. You cannot wait to get your car back on the road; those stares you get driving it around never get old.

Unfortunately, what does get old is your classic. It’s called that for a reason and before taking it back on the road, always remember to take maintenance into consideration, especially if you haven’t started it in a year or more.

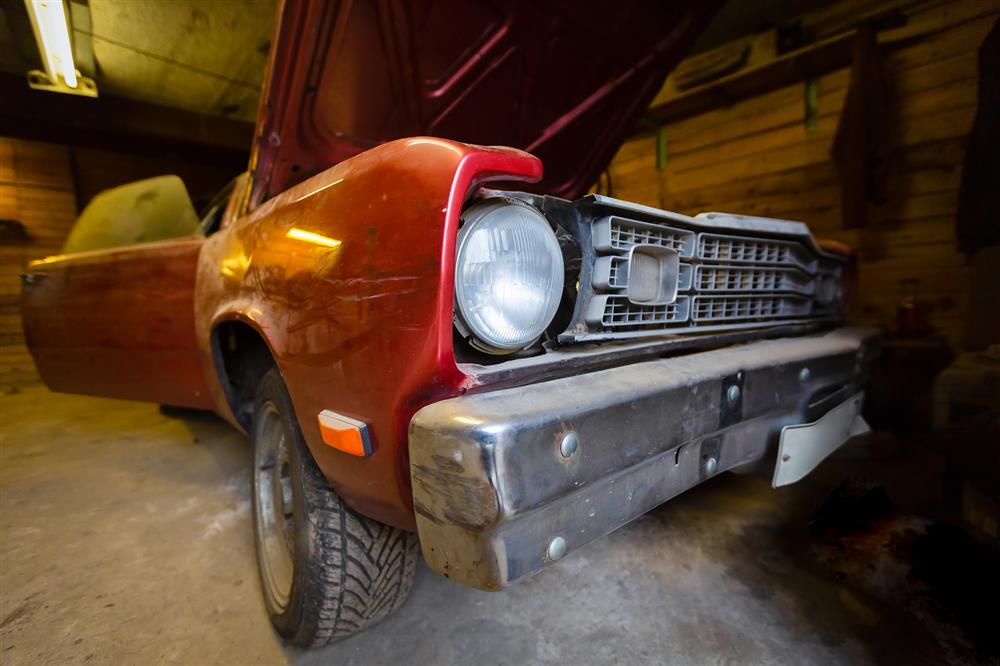
We typically start with the fluids, including brakes, transmission, windshield, washer, and coolant. Kudos to you if you remember the last time you changed the oil. But water and other fluids can seep into the crankcase anyway, so go ahead and get it replaced. Look under the car for any pools of liquid because drops here and there are normal, but larger puddles are not.

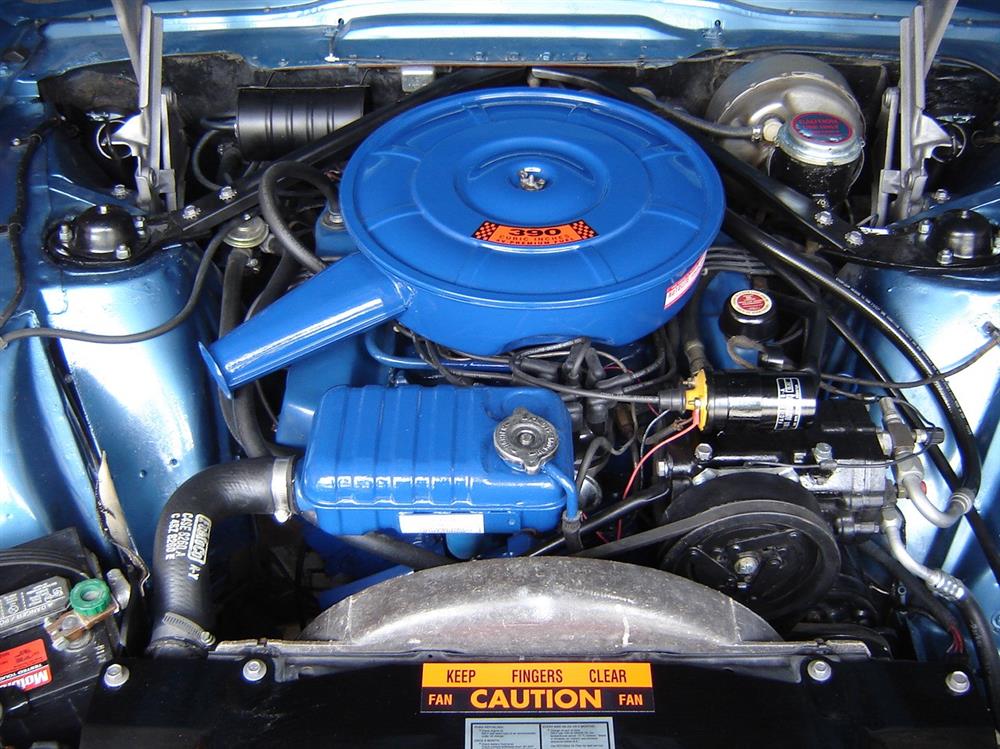
Next, check under the hood and try and find anything that may be out of place. Animals like raccoons, cats, and small rodents can crawl into your car, chew wires, and even leave a few surprises. We’ve seen it before. Be sure everything is intact by gently pulling on wires like the spark plugs. Also, check the ignition, distributor cap, and rotor. You might need to change out the air and gas filters as well.

Now check the fuel. If it smells like harmful gas, you are going to have a tough time starting. If the car has been sitting for over a year, drain out any fuel that was left and add some fresh stuff.

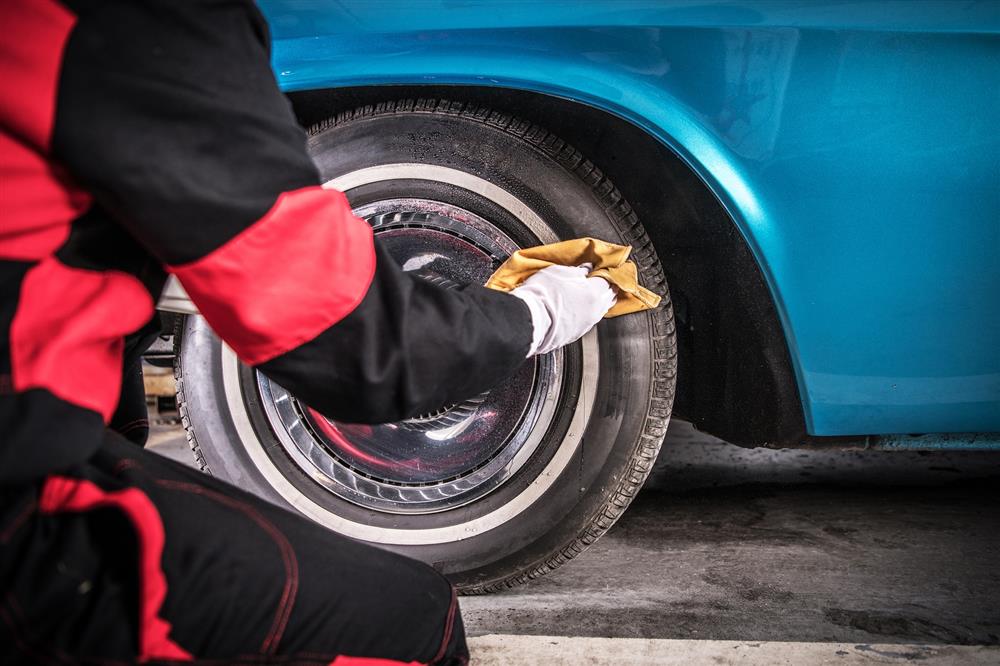
Check your wheels for both air pressure and the state of the rubber. Flat spots can develop in as little as a month. To avoid this happening in the future, roll the car forward and back a couple feet. Do this every two or three weeks, or just put the car up on jack stands if not driven very often.

Before looking at the battery, be sure the charging system is in order (alternator has clean feeds and grounds). Next, clean the battery’s posts and terminals, and add distilled water to the cells. If needed, use a 2-10 amp charger to charge the battery after a voltage test.

After finishing the initial inspection, take it on a quick test drive and do a double-check. If everything is still in order, you should be good to go. Even though it can take an afternoon or two to fully examine a classic that’s been sitting, both you and your car will appreciate it.

Check Out Steve's Classic 66 Ford T-Bird 390 Reader Ride

In April 2004, I purchased a 1966 Ford Thunderbird. The good news: I got her for a good price. The bad news: I got her for a good price. She was a #6 rustbucket and required a total restoration. Here’s what I’ve done or had done to the car since I’ve owned her:

  • Front/rear suspension rebuild
  • Transmission rebuild, to include new transmission lines
  • Carburetor rebuild (x3)
  • Disk brake rebuild, to include new brake lines
  • Power steering linkage rebuild
  • Total interior rebuild (floorboard repair, new carpets, seat covers & foam padding).
  • Repaint of exterior
  • Installed new rear window (old one was broken out)
  • Replaced driver’s side view mirror and new mechanics and added passenger side view mirror
  • Rebuilt power windows (gears, pulleys – the electric window motors still work though)
  • Replaced the original fender skirts with stainless steel trim around the rear fenders
  • Replaced gas tank, fuel pump, and associated lines in-between
  • Installed new exhaust system
  • Replaced heater core and all vacuum lines
  • Replaced the A/C evaporator and condenser, and associated hoses
  • Rebuilt the original compressor
  • Re-wired & replaced numerous electrical components
  • Detailed the entire engine compartment
  • Detailed trunk to include new trunk liner and added an optional trunk release/open mechanism
  • Bead-blasted all the wheels, repainted them semi-gloss black and mounted new, period-correct tires on the wheels

Furthermore, in the process of building the interior, I added some rare options like power seats and a reclining passenger seat. Those didn’t originally come on this car as an option, but they were an available option for that year…so I found those on eBay and went with them. I also replaced both door panels with some used ones in good shape.

When replacing the original fender skirts with stainless steel trim, I was able to get a set of the optional ’66 hubcaps in decent shape, so the lack of fender skirts complements them nicely.

Plus, the car was originally a “Town Landau” (a white vinyl top with a Landau ‘S’ bar on the side pillars). Since the vinyl and chrome trim was long gone, I decided to repaint the exterior with the period-correct “Town Hardtop” option, which was the painted roof with a Thunderbird emblem in place of the Landau “S”. I kept the body the original color (Brittany Blue Metallic), but the roof and side pillars are now painted Wimbledon White. I had to replace both the outer & inner fenders prior to painting, as the ones that were originally on the car had deteriorated into swiss-cheese rust. In addition, I had new weather-stripping installed throughout the car.

I nicknamed this car “Liz."  Short for Elizabeth Taylor because in order for her to have all the nice lines and right curves, it cost a lot of money. I parodied Admiral ‘Bull’ Halsey’s response (when he was asked by the Saturday Evening Post so many years ago), why a U.S. warship is referred to as “she."  He replied, “A ship is referred to as ‘she’ because it takes so much time, money and effort to make her look pretty."

Original Air components on car:

  • Condenser
  • Hoses